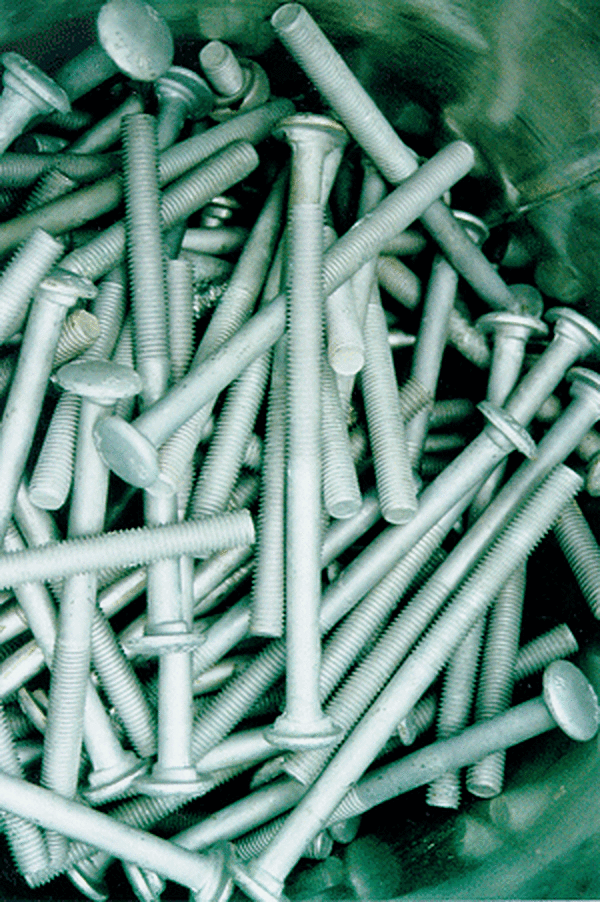
Threaded Assemblies

Hot-dip galvanized fasteners are recommended for use with hot-dip galvanized subassemblies and assemblies. Galvanized nuts, bolts, and screws in common sizes are readily available from commercial suppliers. Bolted assemblies should be sent to the galvanizer in a disassembled condition. Nuts, bolts, or studs to be galvanized also should be supplied disassembled. Because hot-dip galvanizing is a coating of corrosion-inhibiting, highly abrasion-resistant zinc on bare steel, the original steel becomes slightly thicker. When talking about tapped holes and fasteners, the increased thickness is important as is eliminating complications related to contacting dissimilar metals.
Tapping of all holes after galvanizing is recommended to eliminate double-tapping costs and the possibility of cross-threading. Oversizing holes according to American Institute of Steel Construction (AISC) guidelines is usually sufficient for clearance holes to account for the zinc coating's thickness. On threaded assemblies with diameters greater than 1.5" (1.8 cm), it is often more practical, if design strength allows, to have the male thread cut 0.031" (0.8 mm) undersize before galvanizing so a standard tap can be used on the nut.
Low carbon and low silicon bars are recommended as the fastener material to be galvanized, since high carbon and silicon levels cause heavier, rougher galvanized coatings. Sharp manufacturing tools should be used to minimize the possibility of ragged and torn threads opening up during the cleaning phase of the galvanizing process. Standard-sized threads are cut on the bolt, while standard-sized nuts are re-tapped oversize after galvanizing to allow for the dimensional increase in the threads from the zinc coating.
Overtapping Guidelines for Nuts and Interior Threads
| Nominal Nut Size (inches) and Pitch | Diametrical Allowance (inches) |
|---|---|
| 0.250-20 | 0.016 |
| 0.312-18 | 0.017 |
| 0.375-16 | 0.017 |
| 0.437-14 | 0.018 |
| 0.500-13 | 0.018 |
| 0.562-12 | 0.020 |
| 0.625-11 | 0.020 |
| 0.750-10 | 0.022 |
| 0.875-9 | 0.022 |
| 1.000-8 | 0.022 |
| 1.125-8 | 0.024 |
| 1.125-7 | 0.024 |
| 1.250-8 | 0.024 |
| 1.250-7 | 0.024 |
| 1.375-8 | 0.027 |
| 1.375-6 | 0.027 |
| 1.500-8 | 0.027 |
| 1.500-6 | 0.027 |
| 1.750-5 | 0.050 |
| 2.000-4.5 | 0.050 |
| 2.250-4.5 | 0.050 |
| 2.500-4.5 | 0.050 |
| 2.750-4 | 0.050 |
| 3.000-4 | 0.050 |
| 3.250-4 | 0.050 |
| 3.500-4 | 0.050 |
| 3.750-4 | 0.050 |
| 3.750-4 | 0.050 |
| 4.000-4 | 0.050 |
| For metric overtapping allowances, see ASTM A 563M, section 7. | |
