Measuring Surface Profile (ASTM D4417)
What is required under ASTM D4417 for Measuring Surface Profile on HDG Surfaces?

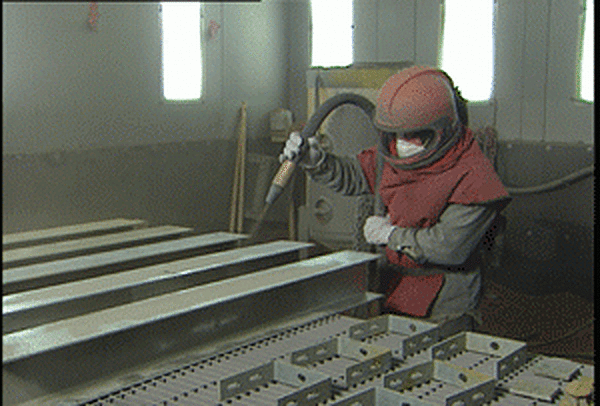
For hot-dip galvanizing applications, it is possible to measure and verify the steel surface profile according to ASTM D4417, Standard Test Methods for Field Measurement of Surface Profile of Blast Cleaned Steel, prior to application of repair materials where the surface has been prepared via power tool or abrasive blast cleaning methods. It is also possible to measure the hot-dip galvanized coating surface profile prior to paint/powder coating application to verify surface preparation as per the product technical data sheets and the paint manufacturers instructions.
Although the standard for measuring surface profile is not directly referenced within the post-galvanizing specifications ASTM A780, D6386, or D7803, they are referenced in the SSPC surface preparation standards SP5/NACE No. 1 White Metal Blast Cleaning, SP10/NACE No. 2 Near-White Blast Cleaning, and SP11 Power Tool Cleaning.
Recent changes to ASTM D4417 provide updated test methods to reflect the latest advances in technology and newly accepted industry research. The three test methods described within D4417 for measuring surface profile include visual comparators, surface profile depth micrometers, and replica tape. Only the use of surface profile depth micrometers and replica tape were updated, and the specification changes are as follows:
Visual Comparator - This test method, as well as the comparator discs available on the market, have stayed the same, and therefore there were no updates for this test method.

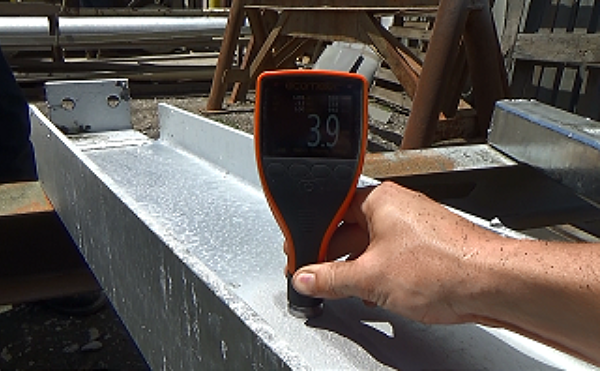
Surface Profile Depth Micrometer - It is now required that the maximum individual reading of 10 or more surface profile readings per area are to be reported, rather than taking the average of ten readings per area. Larger repair areas or prepared hot-dip galvanized surfaces for painting can be measured with 10 readings taken from a minimum of three, 6x6 inch (15x15 cm) areas. The standard does not address discarding outliers, but an update to the standard addressing outlier readings is planned. These changes reflect industry research on current tooling which revealed averaged measurements are consistently less than the values obtained using replica tape. Instead, recording of the highest reading when using a depth micrometer most closely matches the same measurements produced using replica tape.

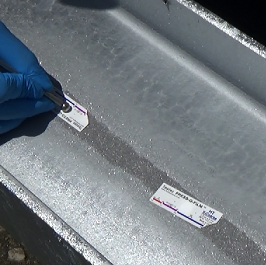
Replica Tape - Although the technology has remained mostly constant for replica tape since its introduction, industry research has addressed the sufficient number of readings required to achieve an accurate measurement. As a result, only two readings per area are now required to be averaged to obtain one measurement, instead of the three readings previously required. For measurements that fall between tape sizes, it is still required that two readings using each tape are to be averaged to comprise one reading (i.e. 4 total readings required for such cases). Larger repair areas or prepared hot-dip galvanized surfaces for painting can be measured with two readings taken from a minimum of three, 6x6 inch (15x15 cm) areas.
For more information related to surface preparation as it relates to hot-dip galvanized steel, you can contact AGA Corrosion Engineer Alana Hochstein at [email protected].
© 2026 American Galvanizers Association. The material provided herein has been developed to provide accurate and authoritative information about after-fabrication hot-dip galvanized steel. This material provides general information only and is not intended as a substitute for competent professional examination and verification as to suitability and applicability. The information provided herein is not intended as a representation or warranty on the part of the AGA. Anyone making use of this information assumes all liability arising from such use.

